Hatherton Branch Canal
April 2020
Now let's be clear, the Hatherton Branch Canal never was part of the BCN although the Churchbridge Locks (and branch) were.

The Hatherton Branch Canal with the Churchbridge Locks
Whilst it is not part of the BCN, its operation was so embedded into the northern section of the BCN I think it's fair to say they share a common DNA. And for that reason I have chosen to include it in this record of old lost BCN canal photos.
It was the one and only significant branch canal built by the Staffs and Worcester Canal Company, built in 1841 to reach the collieries and brickworks in and around Churchbridge.
The 'Hatherton' moniker is attributable to Lord Hatherton, director of the Staffs and Worcs and the entire 3.5 mile branch canal ran through his land, which meant no approvals were needed from Parliament.
The canal operated as a branch canal for 22 years with its terminal basin being close to the Hatherton Reservoir, but in 1863 a through route was added via 13 new locks at Churchbridge (now the Cannock Orbital Retail Park) to the extensive coalfields served by the BCN's Cannock Extension Canal.
The Churchbridge Locks were something of an interface between the Staffs and Worcs and the BCN, with the BCN buying the land but the Staffs and Worcs paying for the construction of the locks. This link into the BCN proved very successful for the Staffs and Worcs and even in 1902, 12,000 tons of coal came onto the Churchbridge Branch via the locks.
Trade continued as long as the coal reserves existed, but it officially closed in 1949 with the last commercial boat making a passage in 1951 and (there is always one) a private hire boat forced an agonising last passage in 1952.
There are long term plans to restore this back door into the BCN using the original Hatherton line as far as its old terminus, before breaking off on a new route to the south.
I have ordered the photos as we go down the canal from the foot of the Churchbridge Locks.


Watling Street Bridge (A5) over canal (now a roundabout)


Watling Street Bridge (left), Gilpin's Edge Tool Works and Churchbridge Locks

White Lion Pub and Churchbridge Junction below Churchbridge Locks in 1926

Early view of Gilpin's Basin and Edge Tool Works


Gilpin's Edge Tool Works and Basin

Gilpin's Basin Bridge at the foot of the Churchbridge Locks


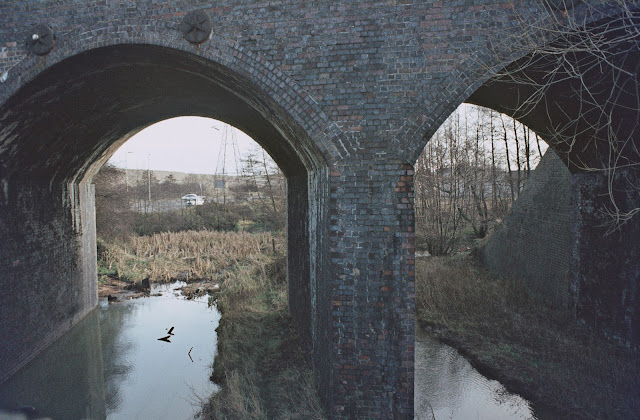
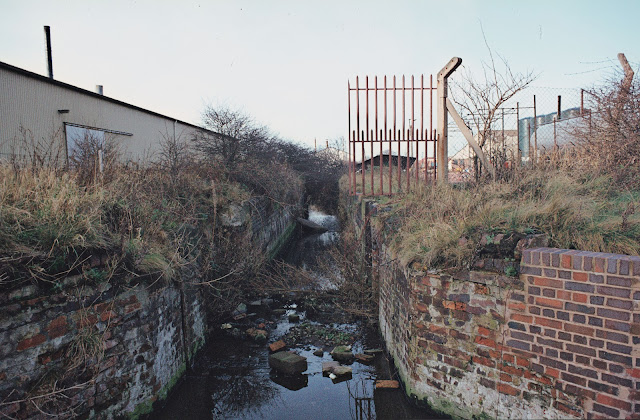
Rail Bridge with Bridge 13 beyond


The footbridge (Bridge 13) and railway bridge at Bridgtown Arthur Watts (CRT Archive)


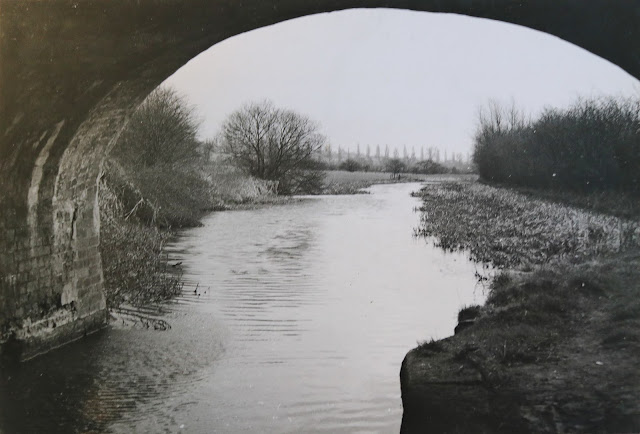
Canal extension to Churchbridge Locks

The Razza - AKA the Walkmill Reservoir above Hawkin's Basin


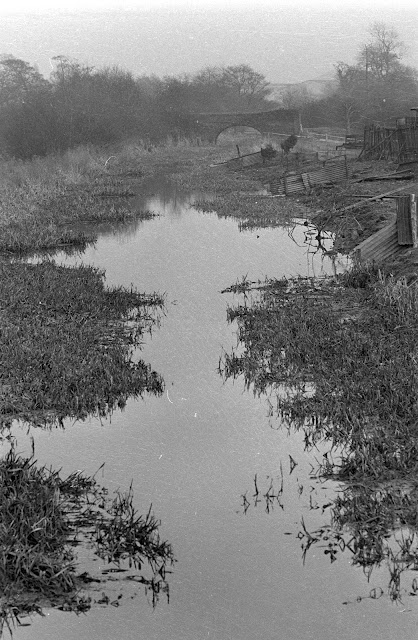
Hawkin's Basin and Cannock Old Coppice Colliery - the original canal terminus in1920


Lift bridge into Hawkin's Basin by A Muir White 1957

Lift Bridge at entrance to Hawkin's Basin


Aqueduct into Hawkin's Basin revealed during M6 Toll construction


Bob May / BCNS Archive

Bob May / BCNS Archive


Hawkins Works with Hawkins and Bridgtown Locks beyond

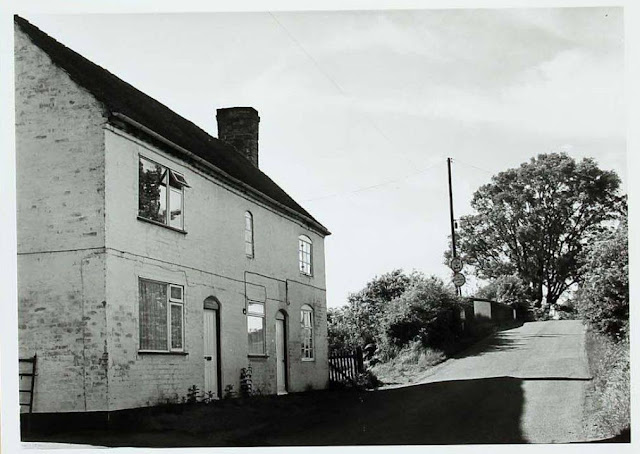
Walkmill lock Keeper's Cottage (Lock Eight) late 1950's


Lock Six


Wedges Mill Bridge (No 9)


Wedge's Mill Lock (Number four)


The last passage 1952 (John Liley)

The Boat Museum Society November 2017

The Boat Museum Society November 2017


Aerial views of the Hatherton Branch


Cherry Tree Bridge (No 8) with towpath ramp added - Andy Tidy


Meadow Lock (number three) Carol Cooper


Remains of Bridge Number 7 below Meadow Lock - Andy Tidy

Bridge Number 7 below Meadow Lock - Carol Cooper

Bridge Number 7 below Meadow Lock - Carol Cooper


Catch Catch Bridge (No 6) after mining subsidence
Bob May / BCNS Archive

Catch Bridge (No 6) during demolition - Eric Wood


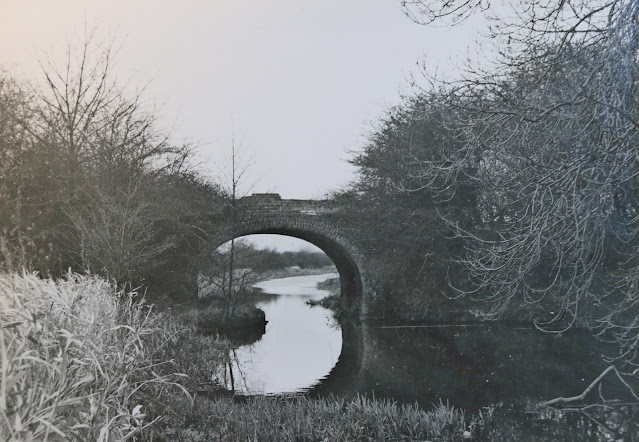
Dropped Cross Bridge (No 5) and Dinghy Dawdle - Duncan Moore


Same scene decades later by Duncan Moore


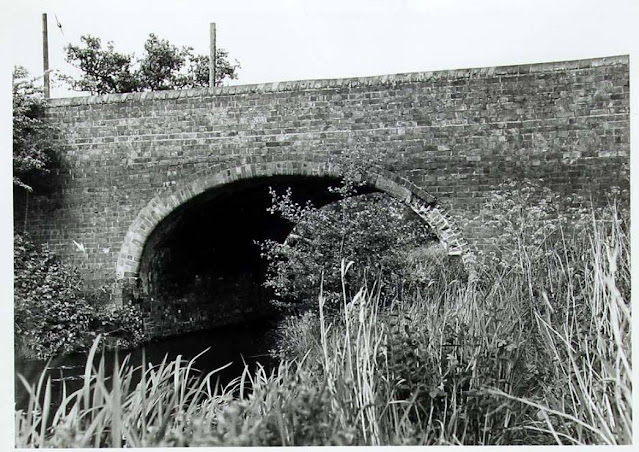
Saredon Mill Bridge (No 4) looking east


Upstream view of Scrawper's End Bridge (No3) by Duncan Moore


Lowered Scrawper's End (No 3) today
 Reduced headroom at Scrawper's End Bridge (No3) by Duncan Moore


DOES ANYONE HAVE A PHOTO OF DOG BRIDGE?

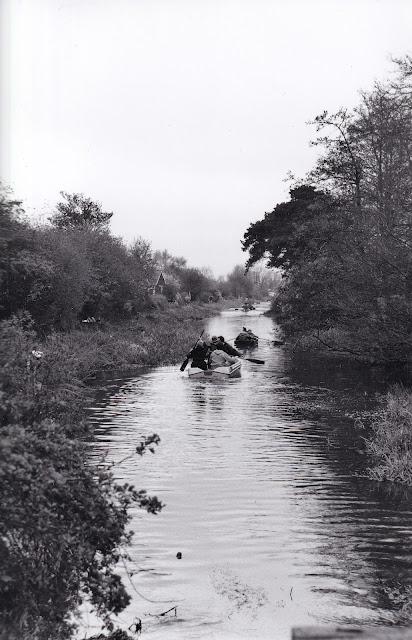
Dingy Dawdle in 1991 from site of Dog Bridge on the Straight Mile


Lock two at Calf Heath adapted to dry dock


Calf Heath bottom lock (Lock one) - Athur Watts CRT Archive


Lock one - Arthur Watts - CRT Archive


Lock One at calf Heath by Graham Moore

Portaging the Dinghy Dawdle at Hatherton Bottom Lock (Lock One)

Calf Heath Bridge No 1 and bottom lock (Lock Eight) - Arthur Watts CRT Archive

Hatherton Junction with the Staffs and Worcester Canal (Tom Manning)

Hatherton Junction with the Staffs and Worcester Canal (Tom Manning)


The above photos have been assembled from various sources, including those freely found on the internet. My thanks go to the many photographers alive and dead who have contributed to this collection and in so doing, are keeping the memory of these lost canals alive. These images are reproduced for ease of research are are not necessarily the property of this blog, and as such should not be used for commercial gain without the explicit permission of the owner (whoever that may be).
No comments:
Post a Comment