Friday, 1 May 2020

Gilpins Arm - Wyrley and Essington Canal

Gilpins Arm - Wyrley and Essington Canal


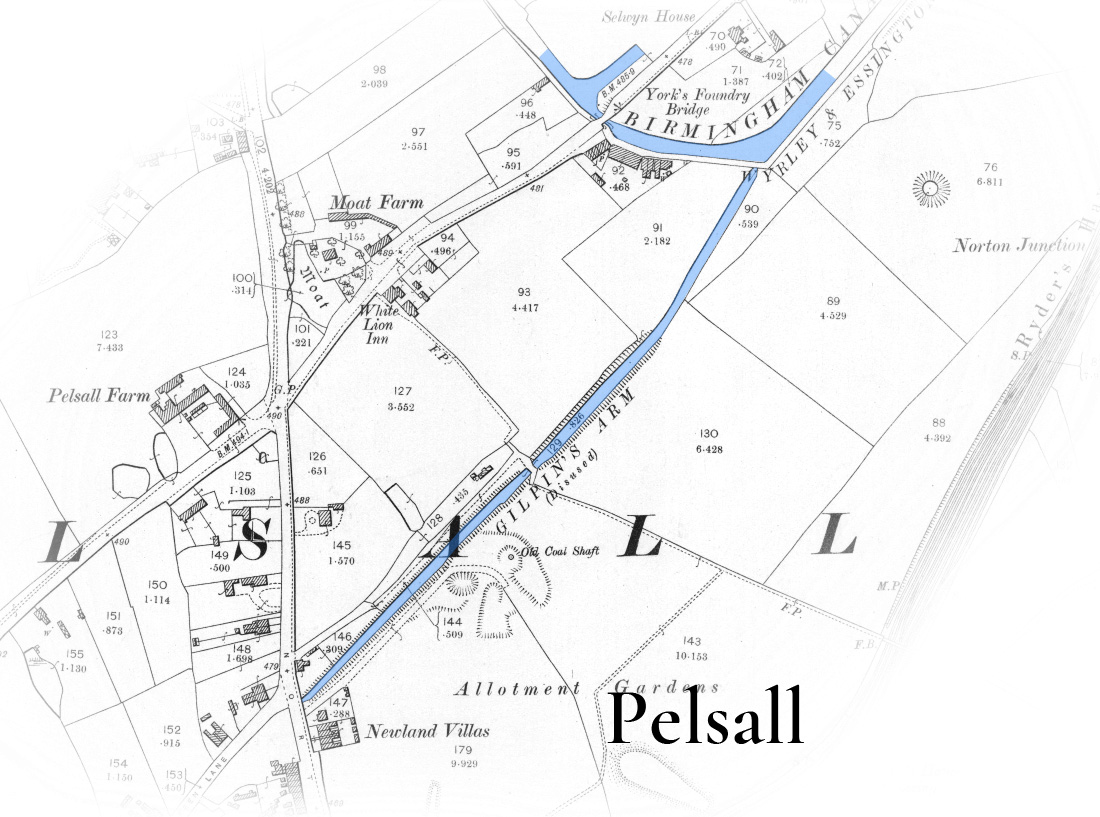
Overhead image of Gilpins Arm

Gilpins Arm in 1962 taken by HE Evans
Photo courtesy of the Waterways Archive - Canal and River Trust

Bridge on Pelsall's Gilpins Branch - date and source unknown

The overgrown Gilpins Arm which led to collieries  -Source unknown

Derelict Cottage at Yorks Fountdry Bridge, Pelsall in October 1962 taken by H E Evans
Courtesy of the waterways Archive, Canal and River Trust

Looking towards Brownhills from the Gilpins Arm 'Houses at High Bridge" in 1962 taken by H E Evans
Courtesy of the Waterways Archive, Canal and River Trust

My thanks to Mike Claridge for the following images which suggest the location for the very end of the Gilpins arm as it entered the area which is now North Common and fills with water after heavy rain.


Click here to return to the Wyrley and Essington homepage


The above photos have been assembled from various sources, including those freely found on the internet. My thanks go to the many photographers alive and dead who have contributed to this collection and in so doing, are keeping the memory of these lost canals alive. These images are reproduced for ease of research are are not necessarily the property of this blog, and as such should not be used for commercial gain without the explicit permission of the owner (whoever that may be).

Dudley Canals, Numbers One and Two homepage

Dudley Canals, Numbers One and Two homepage

I have always found a strange contradiction in the naming of the BCN canals. How do you go from the hyper functional Dudley Number 1 and 2 Canals, through the Stourbridge Extension Canal to the gloriously titled Bumblehole and Boshboil Arms?

I guess that it's all part of the rich tapestry of the canals the old boaters used to collectively refer to as the "Back o the Map", by which I mean the waterways which existed to the west of the Netherton / Dudley ridge.

Blowers Green Junction

The canals on this side of the Black Country started out is independent waterways, later connected to the BCN via the Dudley Tunnel and then, after amalgamation, became part of the Birmingham Canal Navigations.  They became more closely linked via the Netherton Tunnel, the last major canal tunnel built in Britain.

As seen elsewhere in the BCN territory, the industrial heartbeat of the region slowed and with it the arteries feeding the activity silted up and fell into disrepair. The growth of leisure boating arrived just in time to save some of the canals which were almost beyond life support, but sadly others, mostly the branches serving long dead industries, faded away altogether.

The following links will take you to individual pages containing archive images of these lost sections of our historical heritage.


5. The Delph area

6. Coombswood and Hawne Basin

Click here to return to the index page


The above photos have been assembled from various sources, including those freely found on the internet. My thanks go to the many photographers alive and dead who have contributed to this collection and in so doing, are keeping the memory of these lost canals alive. These images are reproduced for ease of research are are not necessarily the property of this blog, and as such should not be used for commercial gain without the explicit permission of the owner (whoever that may be).

Birmingham and Smethwick area homepage

Birmingham and Smethwick area homepage


Birmingham was the original destination of Brindley's 1769 Birmingham Canal, the destination for all that coal dug out in the West Bromwich area.

Birmingham Old Wharf

Even today, the Birmingham Canal scene presents as a jumble of arms, branches, loops and basins but 'back in the day' the scene was even more chaotic. The canals fed into the new area of town, built on higher ground and the area was soon riddled with waterways with a density which came close to what we see in Venice today. Thats as far as I will be drawn on the Birmingham / Venice comparison....

What we see today is only a part of what used to exit and the links below take you to individual posts which contain archive photos of the area's waterways which have been swept away in the repeated reinventions of the Birmingham metropolis.

Listed broadly from south to north:


9. New Main Line at Smethwick

Click here to return to main index

A Canal Hunter video exploring the lost loops of canal can be found by clicking here.

A Canal Hunter video exploring the lost summit at Smethwick can be found by clicking here.


The above photos have been assembled from various sources, including those freely found on the internet. My thanks go to the many photographers alive and dead who have contributed to this collection and in so doing, are keeping the memory of these lost canals alive. These images are reproduced for ease of research are are not necessarily the property of this blog, and as such should not be used for commercial gain without the explicit permission of the owner (whoever that may be).

Wolverhampton Basins and Branches homepage

Wolverhampton Basin and Branches homepage

The Wolverhampton waterfront used to be a hive of activity, with basins, wharfs and warehouses hemming in the northern end of the Birmingham Canal.

Chillington Basin

Over time most of these side arms have been lost, leaving just the core main line canal as a little used thread of water running through endless new housing estates.

This homepage lists the more significant branches, arms and basins and, as images are found, they will link to individual posts of archive photographs showing how these areas used to look.

Kinks to individual branches and basins in this area, listed from south to north:

1. Springvale and Bilston area

2. Chillington and Shrubbery Interchange Basins

3. Wolverhampton Central area

4. Wolverhampton Station diversion

5. Horsley Fields area


Click here to return to the main menu 


The above photos have been assembled from various sources, including those freely found on the internet. My thanks go to the many photographers alive and dead who have contributed to this collection and in so doing, are keeping the memory of these lost canals alive. These images are reproduced for ease of research are are not necessarily the property of this blog, and as such should not be used for commercial gain without the explicit permission of the owner (whoever that may be).

Wyrley and Essington small branches homepage

Wyrley and Essington small branches homepage

No review of the Wyrley and Essington Canal would be complete without capturing the archive images of the assorted small branches.


Enterprise winds in Holly Bank Basin

For the sake of simplicity, they are ordered as they occur from west to east:

1. Short Heath Branch (Holly Bank Basin)

2. Lords Hayes Branch

3. Gilpins Arm

4. Slough Arm

5. Sandhills Arm

6. Anglesey Branch and Daw End Branch