Bentley Canal - Willenhall
This is very much the middle section of the Bentley Canal, and was abandoned several years before the upper section. It passed through a lockless section at the Weldless Tube Works (now Tata Steel) before reaching one of the few bends at Monmer Lane and then into the next flight of locks at Sandbeds.
As usual, it's the decaying locks which attracted the photographers and many of the lengths in between are sparsely recorded. Its at times like these when we turn to the Britain from Above archive which offers some good resolution low level images and thus just about completes the photographic record of the built structures.
As with the other posts covering the Bentley Canal, this one has grown like topsy because if we cant have quality images we tend to go for quantity!
The images have been sorted into order from top to bottom.


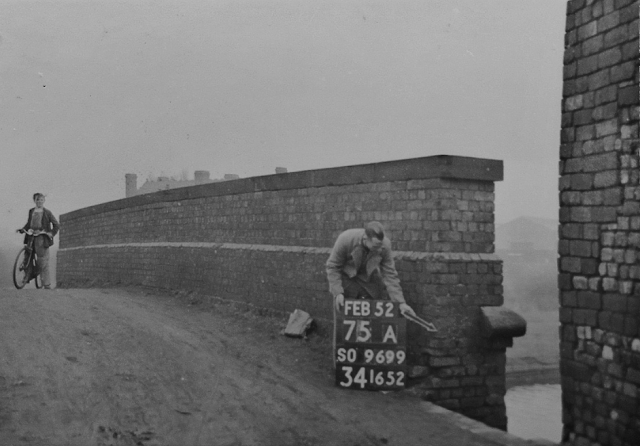
Fly Bridge

Fly Bridge with Neachell Branch behind

Fly Bridge 1952 Revision Point Survey Wolverhampton Archive


Weldless Tube Works with Hills Bridge


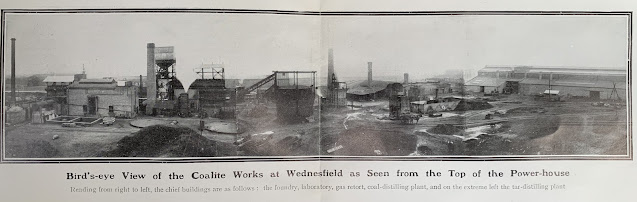
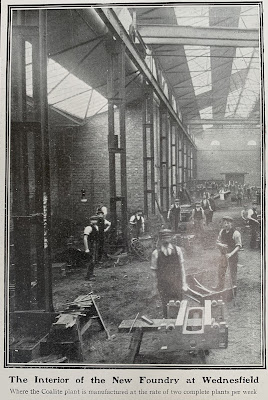

Inside the Coalite Works near Hills Bridge 1912
Thomas Parker - a true Entrepreneur of his time - he also owned the ‘Phosphorus Works’ that I’m sure you will have seen marked on OS maps at the Bentley flight near Well Lane - selling the rights and patents for his electrical arc manufacturing process to Messrs Albright&Wilson of Oldbury. He bought the land for the Coalite plant with 60 acres which he also intended to mine - but the factory was closed by 1913, just 5 years after the photographs were taken. Not that it wasn’t a success of course - production moved to Bolsover where it remained until closure in 2004. The Weldless Tube company then moved from their Neachells Lane premises (in between the canal and railway bridges) into the Coalite plant.
(Taken from"The Sphere" and supplied by Mike Morgan)


Ariel view of Fibbersley Bridge

Fibbersley Bridge


Fibbersley

Fibbersley Bridge


Near Fibbersley


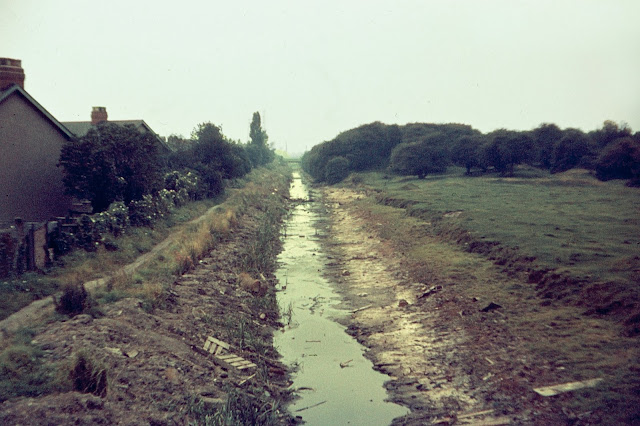
Site of Monmer Lane Bridge


Springbank Bridge

Springbank Bridge looking upstream


Springbank Bridge a few years later


Springbank Bridge today


Locks at Sand Beds


Courtest of Canal and River Trust's National Waterways Archive


Courtesy of Canal and River Trust's National Waterways Archive


Courtesy of Canal and River Trust's National Waterways Archive

Courtesy of Canal and River Trust's National Waterways Archive


Lock 8 to Lock 7 -Ian Husselbee

Bentley Locks 8 and 7 at Sand Beds 1958


Lock 8 an Sandbeds Bridge

Click here for the next section
Click here to return to the Wyrley and Essington homepage
The above photos have been assembled from various sources, including those freely found on the internet. My thanks go to the many photographers alive and dead who have contributed to this collection and in so doing, are keeping the memory of these lost canals alive. These images are reproduced for ease of research are are not necessarily the property of this blog, and as such should not be used for commercial gain without the explicit permission of the owner (whoever that may be).
No comments:
Post a Comment